
Tampa Refacing — Oak to MDF Shaker in Chantilly Lace
Tampa, FL
- Cabinet style
- Shaker, MDF
- Finish
- New doors, painted frames
- Color
- Chantilly Lace
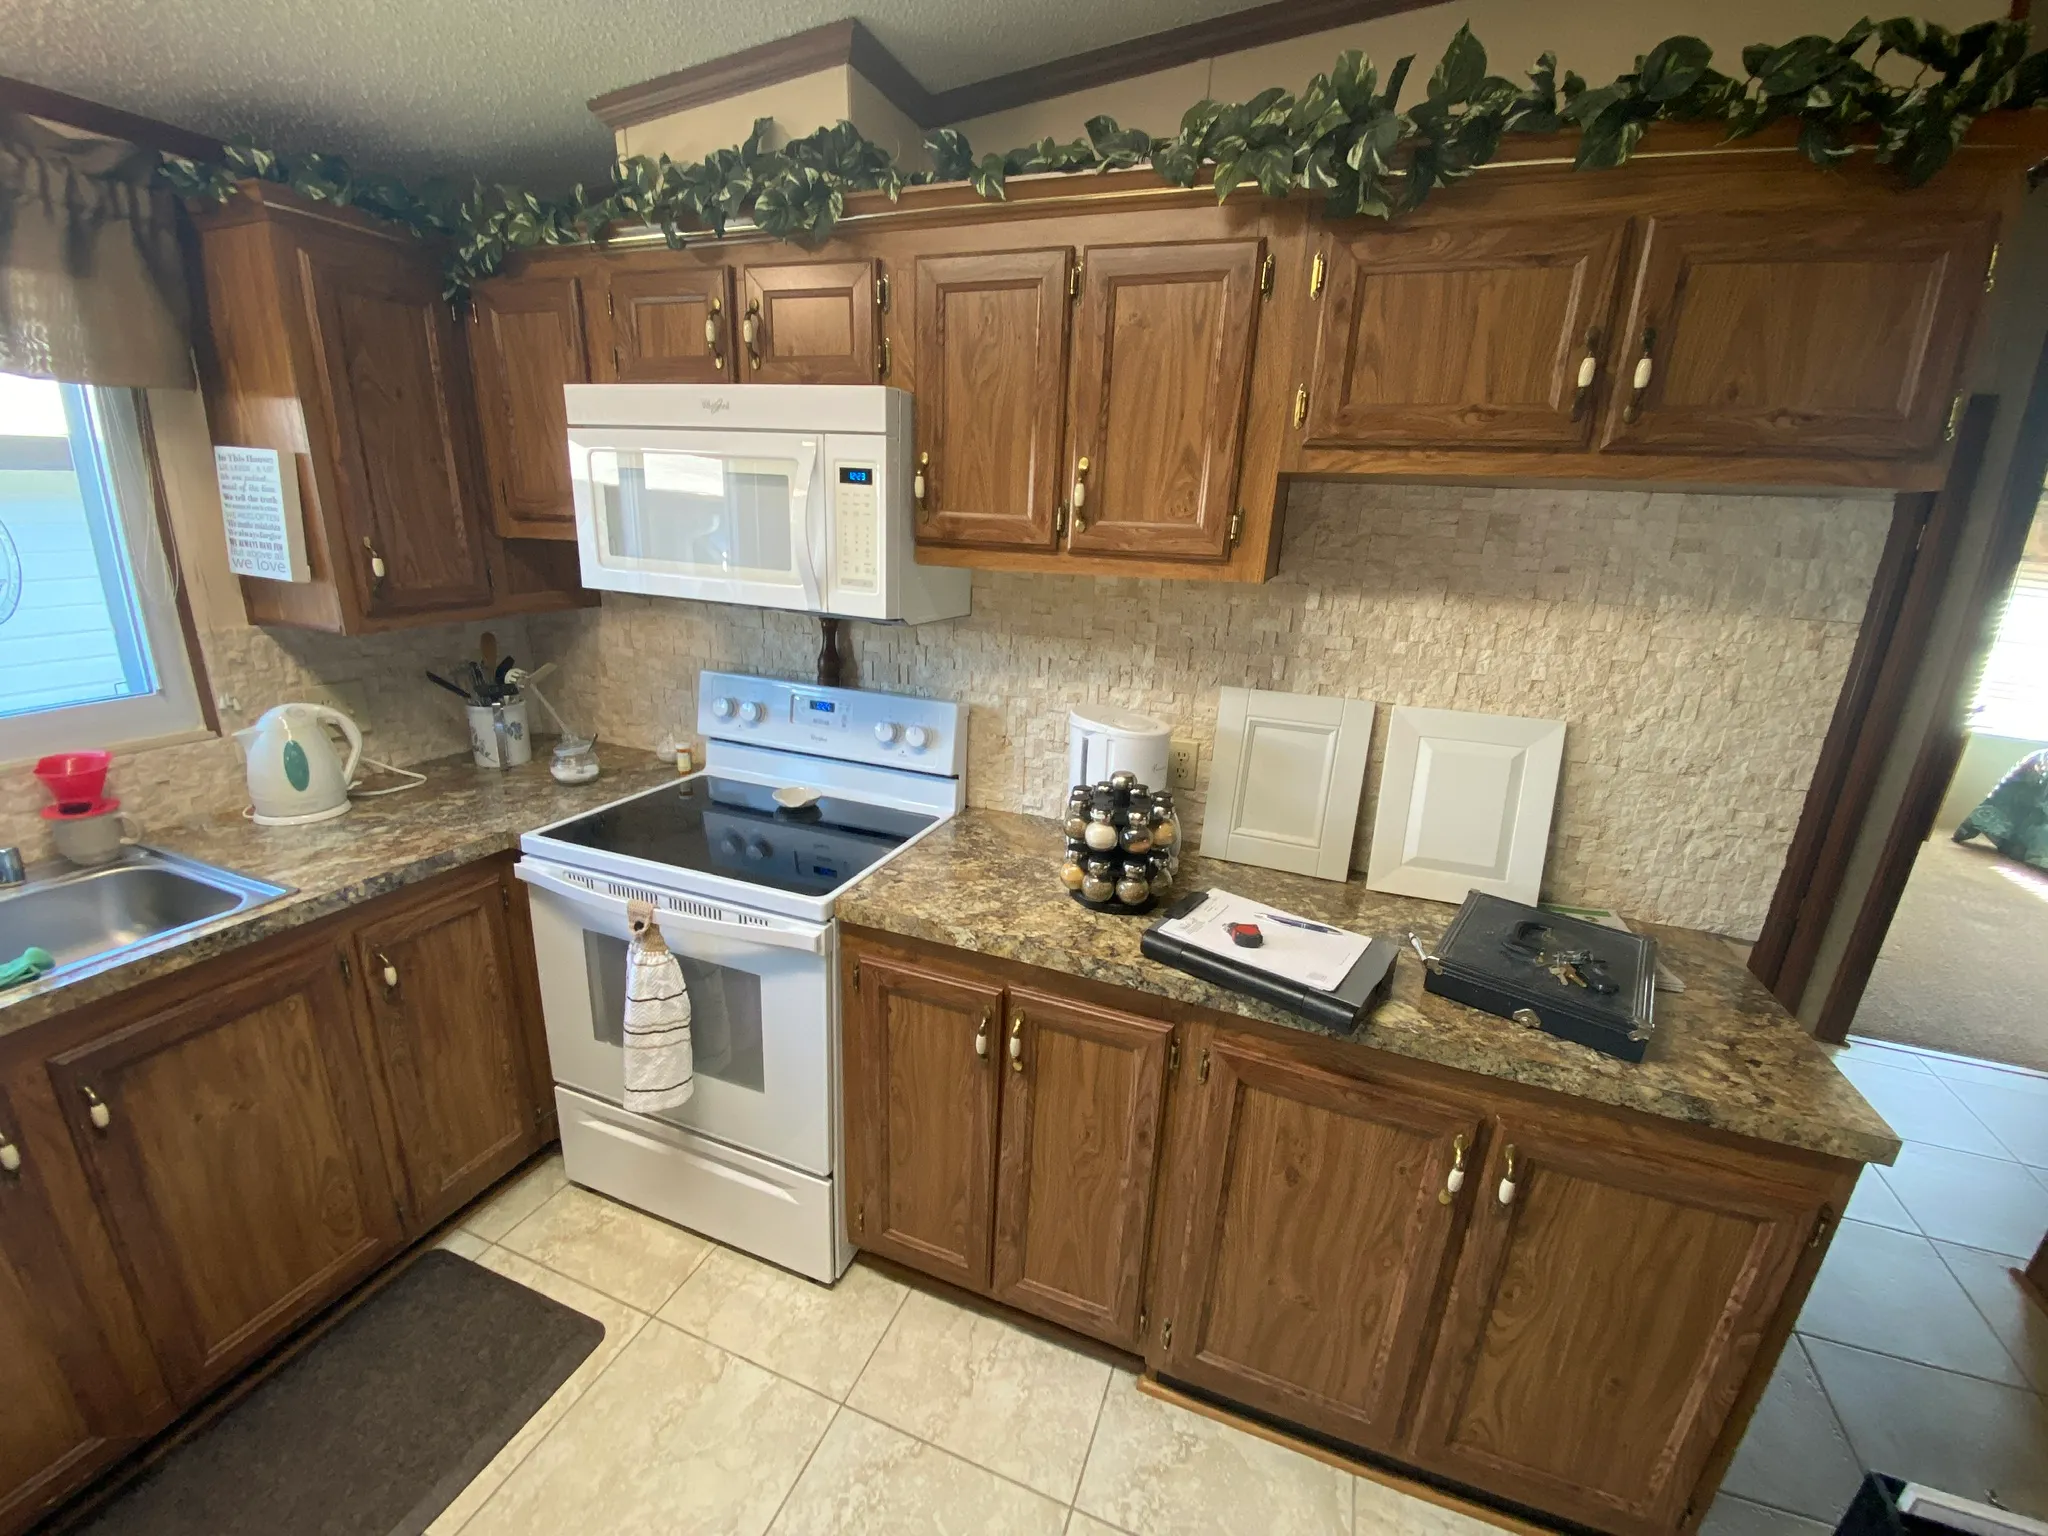
The homeowners wanted a different door entirely, which is the line between painting and refacing. Their existing oak doors were cathedral-arch — the curved top rail that dates a kitchen to a particular decade more reliably than any color does. No finish changes that profile. New doors do.
They chose a flat shaker in MDF, finished in Chantilly Lace. You can see one of the sample doors propped against the backsplash in the before photo, which is how that decision usually gets made: not from a chip, but from a real door sitting in the actual room under the actual light.
Painted frames, not laminate
This kitchen is a good example of where our refacing differs from most quotes you will get.
When a refacing job is going to a solid color, the industry norm is to laminate the cabinet frames — wrap them in a vinyl or foil skin to match the new doors. We do not. We paint them. A painted frame looks better than a laminated one, it holds up longer, and it costs less than laminating, so this is not a corner being cut. It is the better version of the job at a lower number.
Laminate is the right answer for a stained look, where a matching wood veneer carries the grain across the frames. For a white kitchen like this one, paint wins on every axis. More on how we finish frames.
The problem nobody quotes for
The face frames in this kitchen were not a standard three-quarter inch thick.
That matters more than it sounds. A cabinet hinge is designed to screw into a frame of a known depth, and the screw needs enough material to bite into. On an under-thickness frame the screw bottoms out with barely any purchase — the hinge feels tight on installation day and works loose over the next year, until the door starts sagging out of alignment and nothing you do at the hinge adjusts it back.
The shortcut is to fit the hinges anyway and let the customer find out later.
What we did instead was cut strips of wood and fasten them to the back of each face frame, building the frames out to the depth the hardware actually needs. Then the hinges went on into full-thickness material, with a proper secure attachment across every opening.
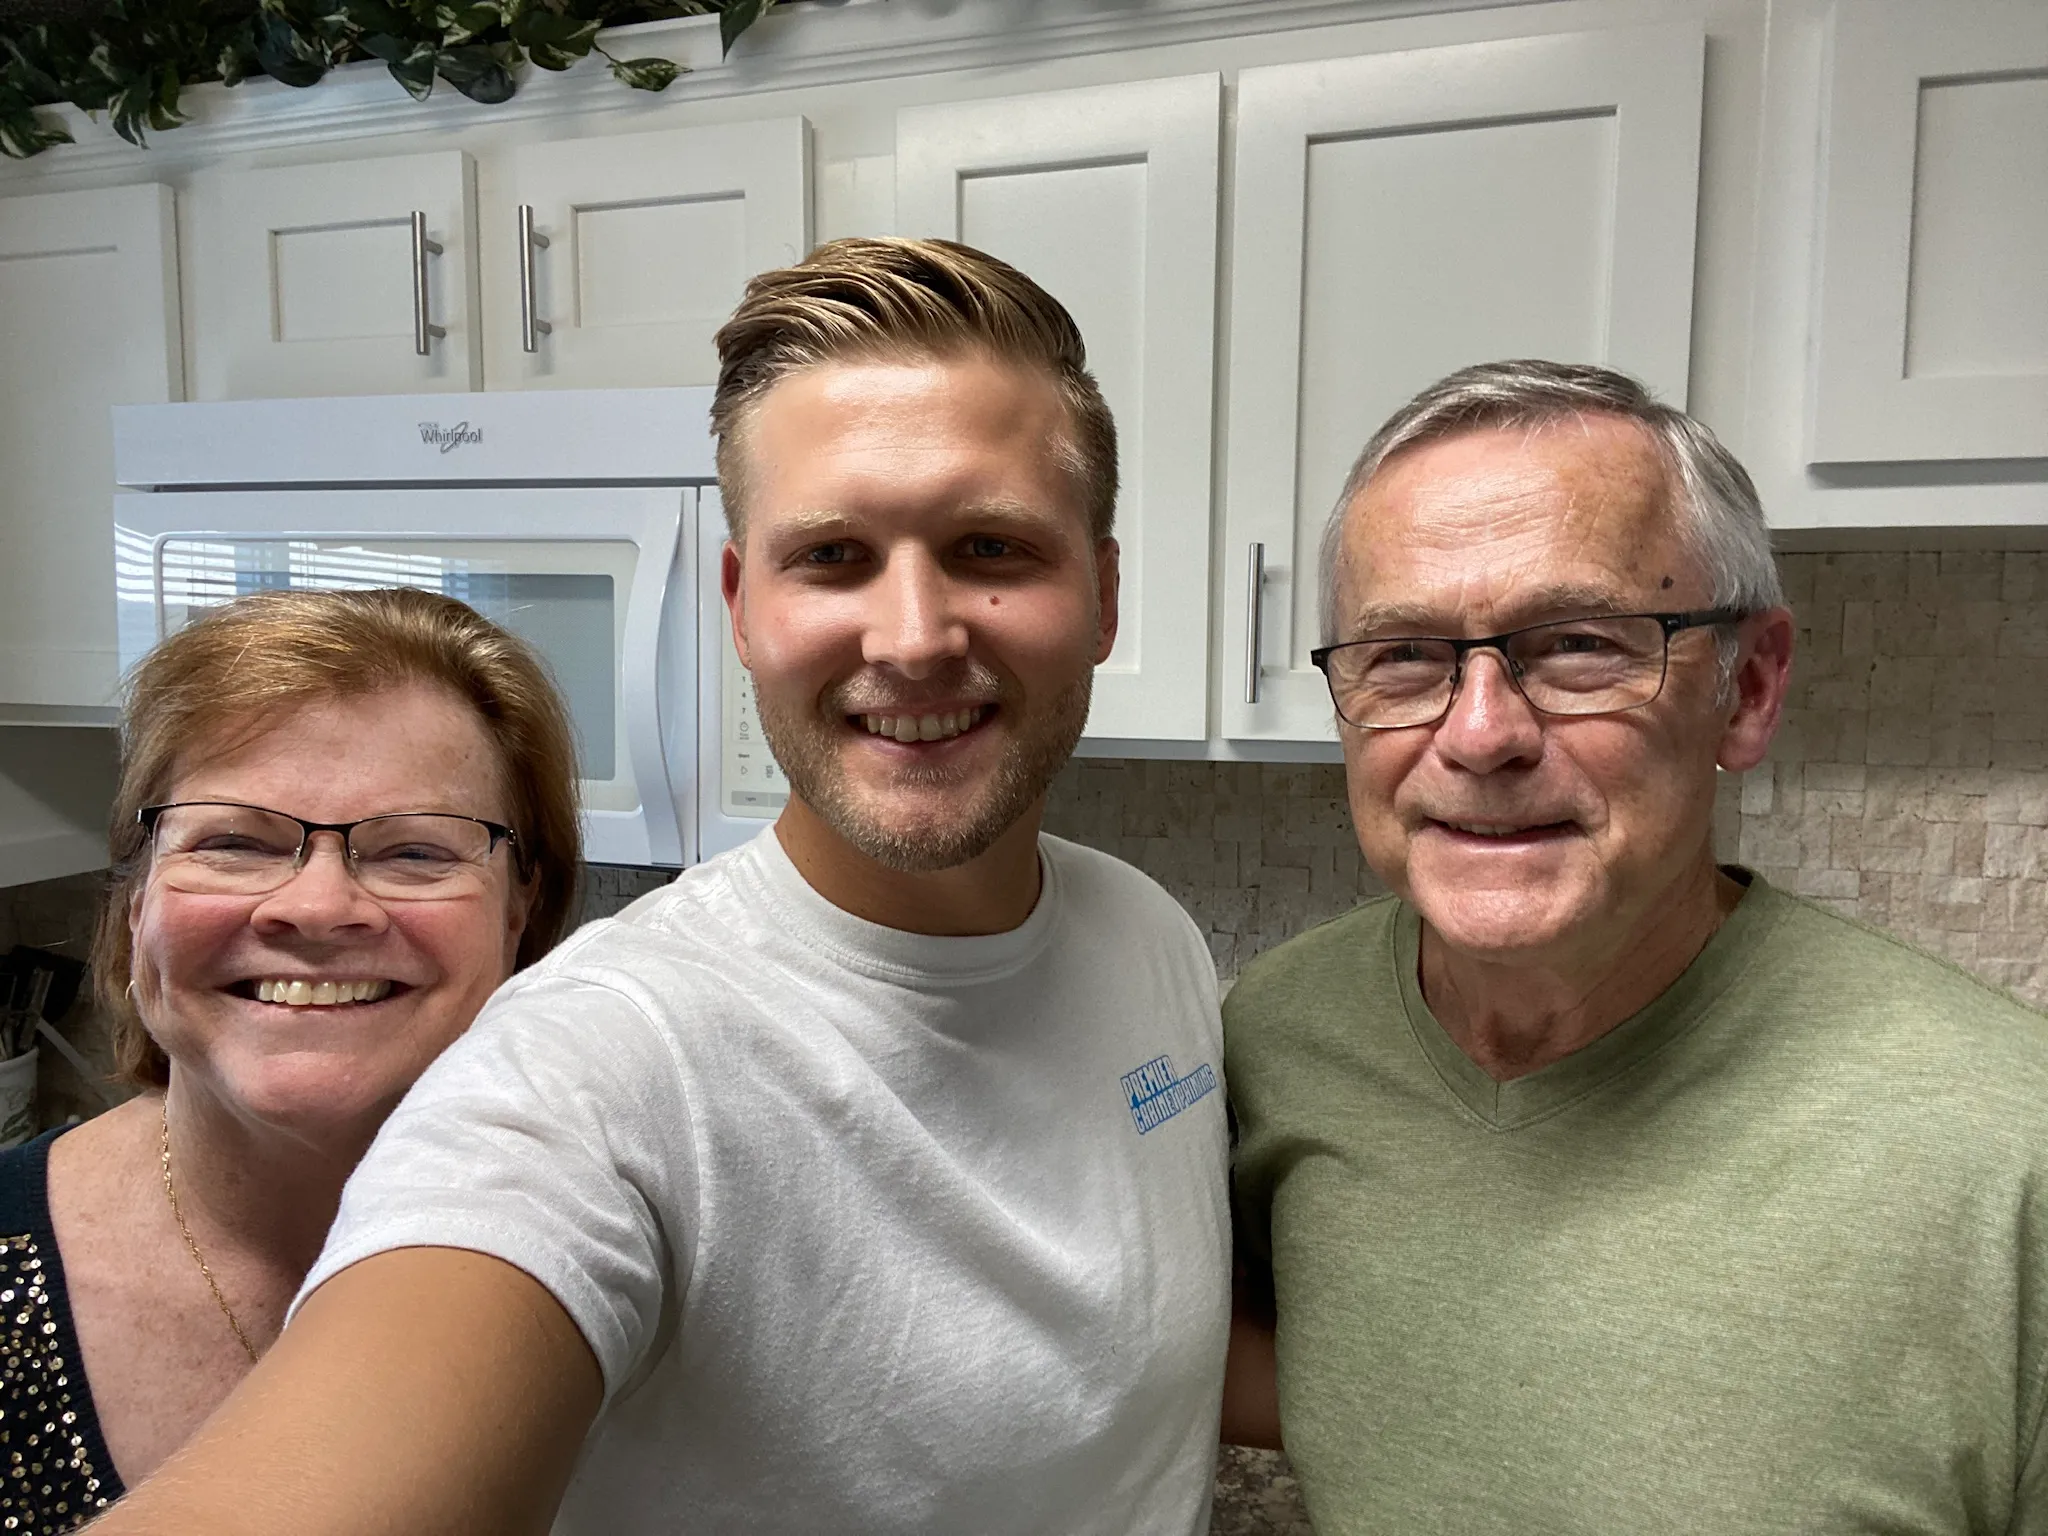
It is invisible in the after photo. It is the reason the doors will still hang true in ten years.
Who was there
That is one of our team in the after photo, standing in the finished kitchen with the homeowners. Which is the point — you can see who did the work.